Module impressions


My Module is almost finished with the Nature part, for the wild grass is used HEKI products and some decovlies from different brands. Technical 100% functionel and finished, the next step is to bring some life into the scenery with figures and additonal parts. The legs will be also a step to make a stand for the module, I try to connect on the right side a fiddle yard at first what can be switched to another module. Through the grass  the white glue is visible after dry out everthing looks normal.


BR 212 modified with white/red LED


Modified BR 212 from Fleischmann
First Problem on Fleischmann Locos is the only white signal lamps for each direction, the red lamps have only a dummy function and colored red.
During my modification to digital and also planned to change the bulbs to LED and perform the original complete function of the lights.
1. Used a Lenz Gold + Decoder with 4 functional Outputs.
Function A white
Function B yellow
Function C green
Function D violet
The red lights are switched on with F0 and change automatically the direction.
The white Headlights I programmed on Function 1 and Function 2.
Additional for shunt both headlights are turned on.
With this wiring the complete light picture is possible if the train is pushing or pulling waggons or drive without waggons.


Turntable test phase with locomotive


Turntable in H0 1:87

Finished the rack around the turntable, I use Peco Code 75 tracks and the height is with a cork bed 3,1 mm exactly, only some small spacers of 1mm are missing to support the tracks. The gaps are filled with putty and sanded. In the middle of the tracks I create some metal plates from brass.


Segment turntable in 1:87 H0

Closed the side of the turntable with plastic stripes, the height is 31mm to have exactly lined out the tracks.


Segment turntable in 1:87 H0

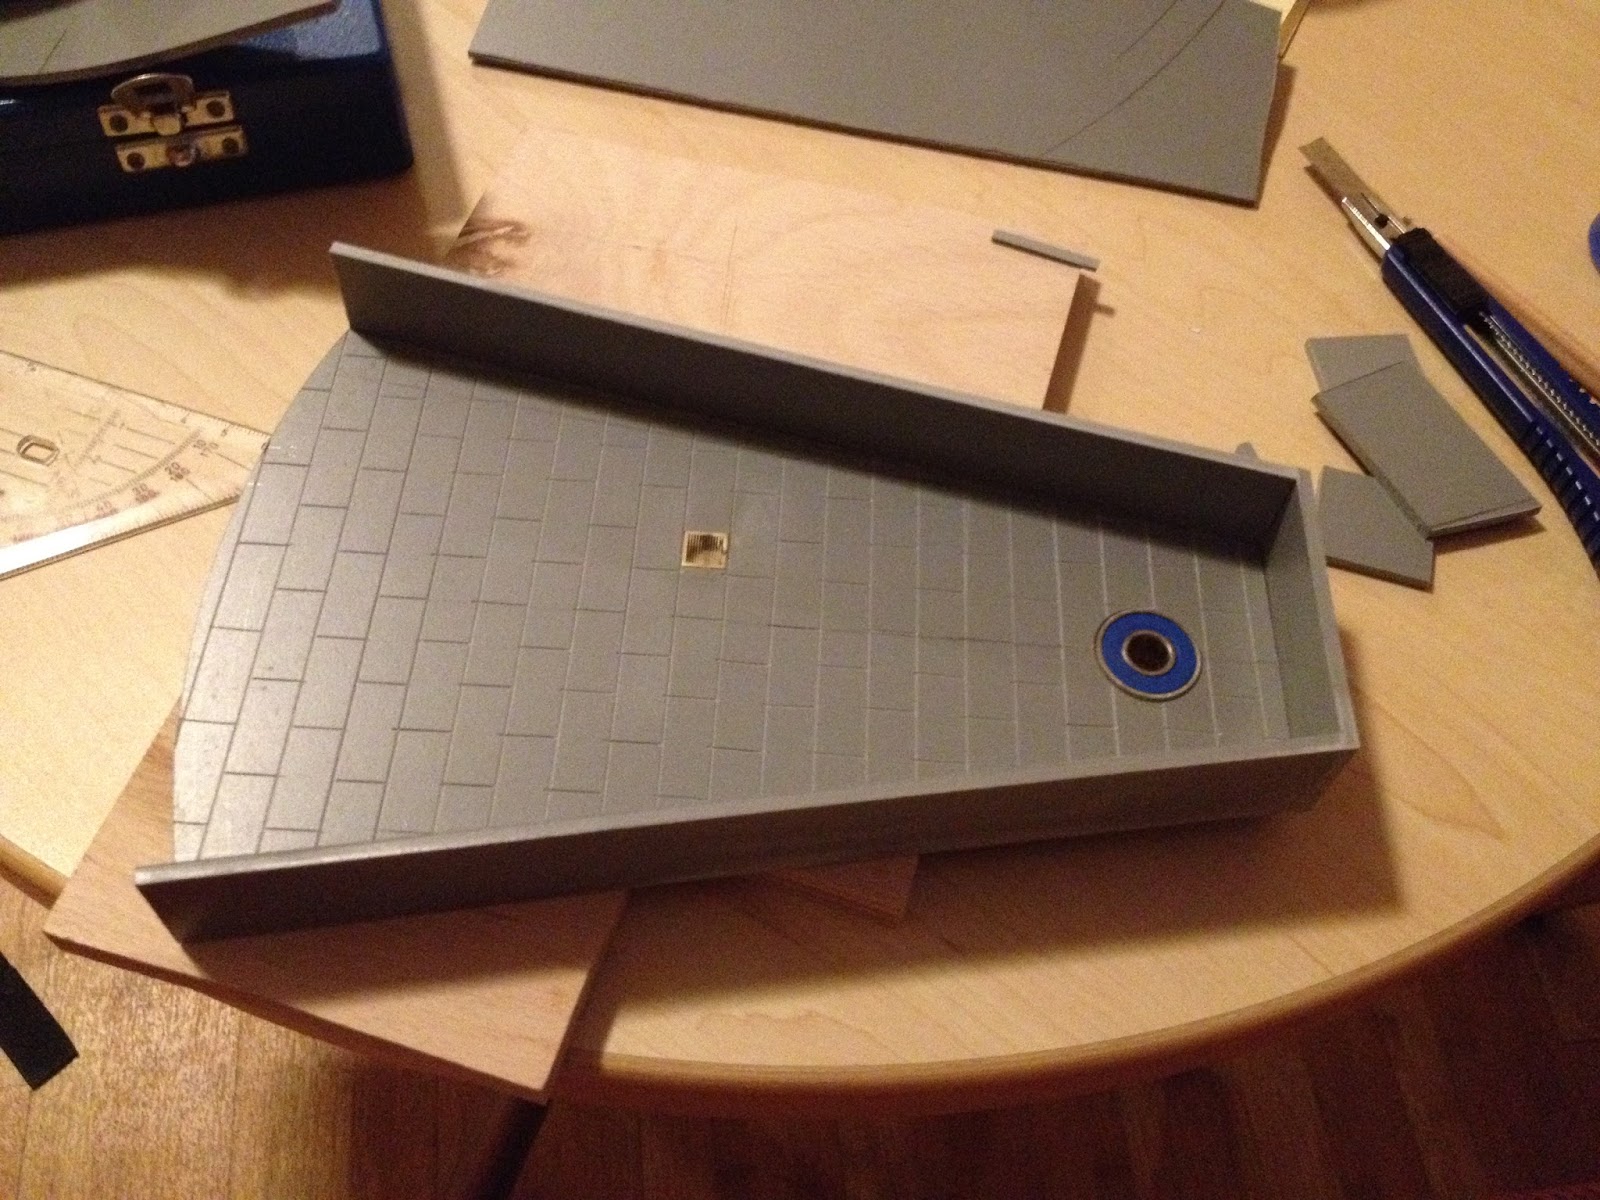
The Pit was made from 5mm Polystyrol, the problem was at first the revolving stage was mounted or tested with any bearing and it was loosen to loosen. A Bearing was the riddles solution, the bearings inner diameter is 8mm and the outer is 22mm, for more support I glued with Epoxy a 10mm plywood peace at the other side to stabilize the whole idea.
With a stage reamer I drilled the hole and mounted the bearing, with the bearing the revolving stage is turning now very smooth and free of clearance and is prepared for the servo and ESU Switch Unit.


 The ground plate for the pit was scratched to simulate concrete plates.


Next steps are to put some styrene strips for more detailing and after I will start to airbrush the stage with a primer.

Build will continue!