Showing posts with label Flight Deck DIY. Show all posts

Flight Deck 1/48 DIY Part 6

The Walls and the interior was airbrushed in white, the fllor will be painted in Neutral Grey.

Additional to the Sound modul I added some warm white LEDs to illuminate the Hangar, the Light can be switched on with a additional switch at the right of the module. The 20 mm Guns have been finished and can be installed.


Flight Deck 1/48 DIY Part 4

 Update from the Flight Deck specially the Hangar.


Flight Deck 1/48 DIY Part 3

Project Update: USS Wasp Diorama Section – Starboard Catwalk & Rear Hangar

My initial idea was to give The Flight a solid base—something like a 60mm "sockel" (pedestal). But then I decided to push it further: I’d create a section of the USS Wasp, focusing on part of the aircraft carrier structure below the flight deck.

I chose to model the starboard side, specifically the catwalk over the rear hangar, just in front of the rear elevator. The catwalk is glued to the flight deck but remains completely removable from the hangar box, making the section modular.

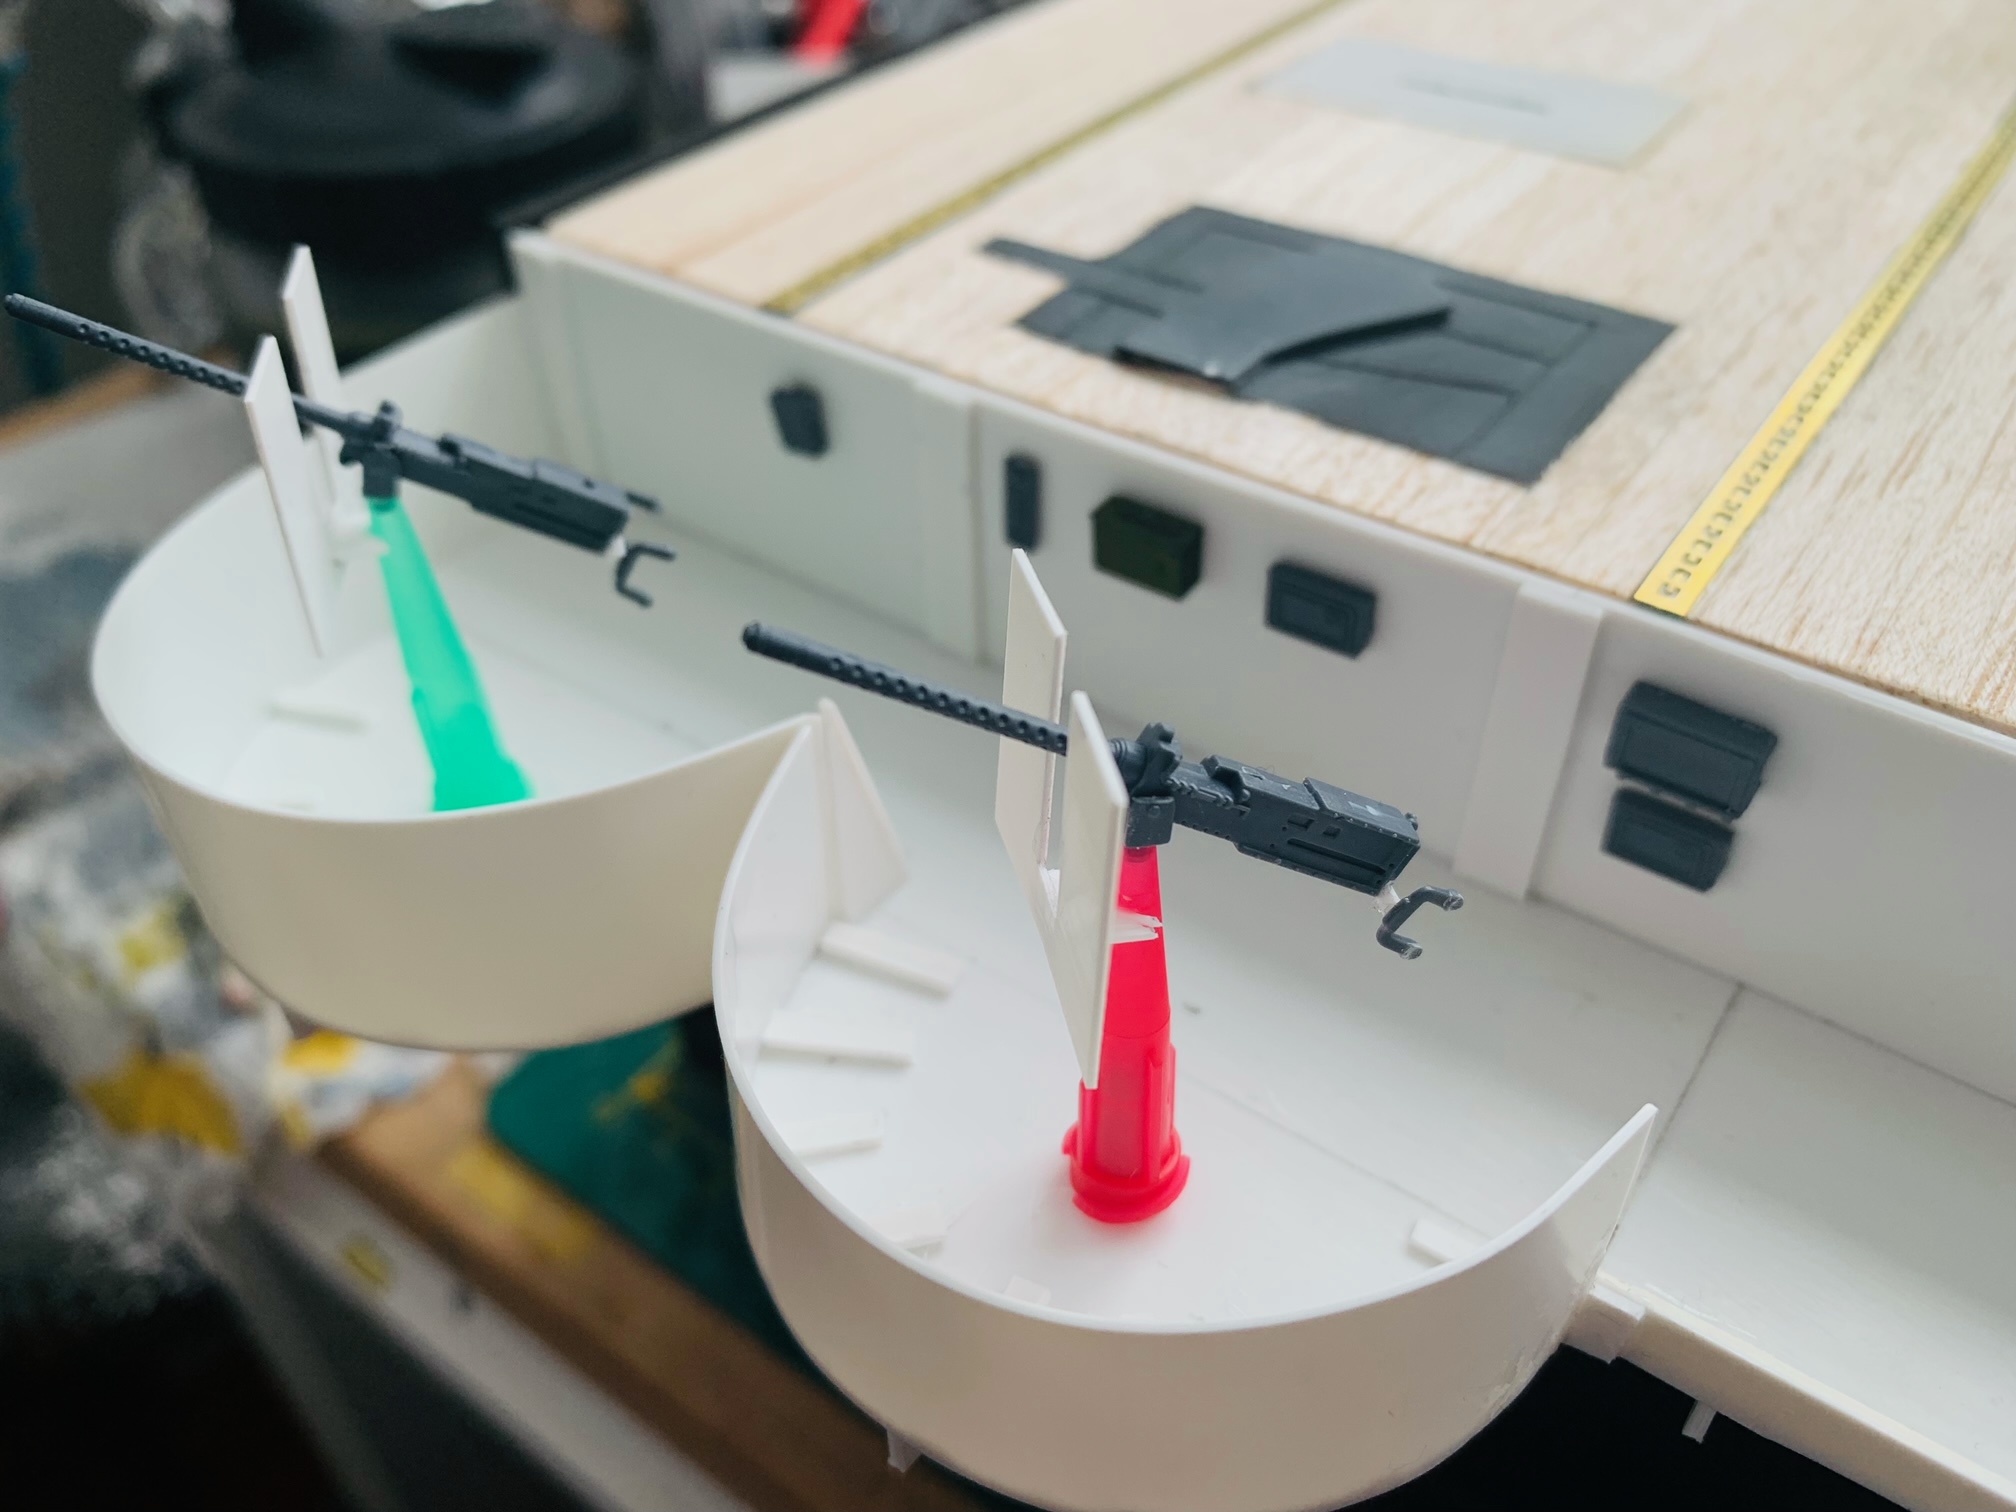
The two 20mm Oerlikon guns in this section were almost scratch-built, along with the underlying catwalk structure. A lot of attention went into replicating these with accurate proportions and detailing.

I also plan to make the entire section sound-animated, which will bring an extra level of immersion once it’s finished.

crew for the flight deck has been ordered from Super Hobby (Poland) to populate the scene with figures and bring the whole diorama to life.

But first—here are some pics of the progress so far!


Flight Deck 1/48 DIY Part 2

Flight Deck Construction – USS Wasp Section

To replicate the wooden flight deck of the USS Wasp, I started by gluing 5x2mm balsa wood strips onto a 400x200mm base using CA glue. Referring to period photos of carrier decks, I counted 12 planks before each row of tie-downs, creating a realistic and historically accurate layout.

The tie-down rows themselves are 3mm wide, and to match the height of the balsa planks (almost 2mm), I glued in spacers beneath them. This ensured a level surface across the deck and preserved the slight visual separation between the planks and tie-downs.

Once all components were securely in place, I trimmed the balsa flush with the edges of the base, giving a clean, crisp outline ready for painting and further detailing.


Flight Deck 1/48 DIY Part 1

For the Flight Deck I ordered some parts

  • Plywood Baseplate 400x200 mm 
  • 30x Balsawood 5x2mm 
  • Deck Ties 1:48
  • Scratch built cable hook system