


.jpeg)
.jpeg)
.jpeg)
.jpeg)
.jpeg)

Information Site of Deck Crew and Colors, some clorized pics from Crew action on Deck

The F4U Corsair was designed around the most powerful engine available at the time: the Pratt & Whitney R-2800 Double Wasp, an 18-cylinder radial engine delivering 2,000 hp (1,500 kW). To effectively harness that power, the aircraft was fitted with a Hamilton Standard Hydromatic three-blade propeller, measuring an impressive 13 feet 4 inches (4.06 meters) in diameter.
For my build, I enhanced the engine detail using Eduard photo-etched parts, specifically for the ignition cables. These fine PE parts add a much higher level of realism to the engine assembly, capturing the complexity of the wiring around the massive radial.
.jpeg)
.jpeg)
I ordered a great set of 1:48 Deck Crew from Orange Hobby in a great quality out of the 3-D Printer.
Three of them are with flags and two in a normal position.
.jpeg)
.jpeg)
.jpeg)
.jpeg)
.jpeg)
.jpeg)
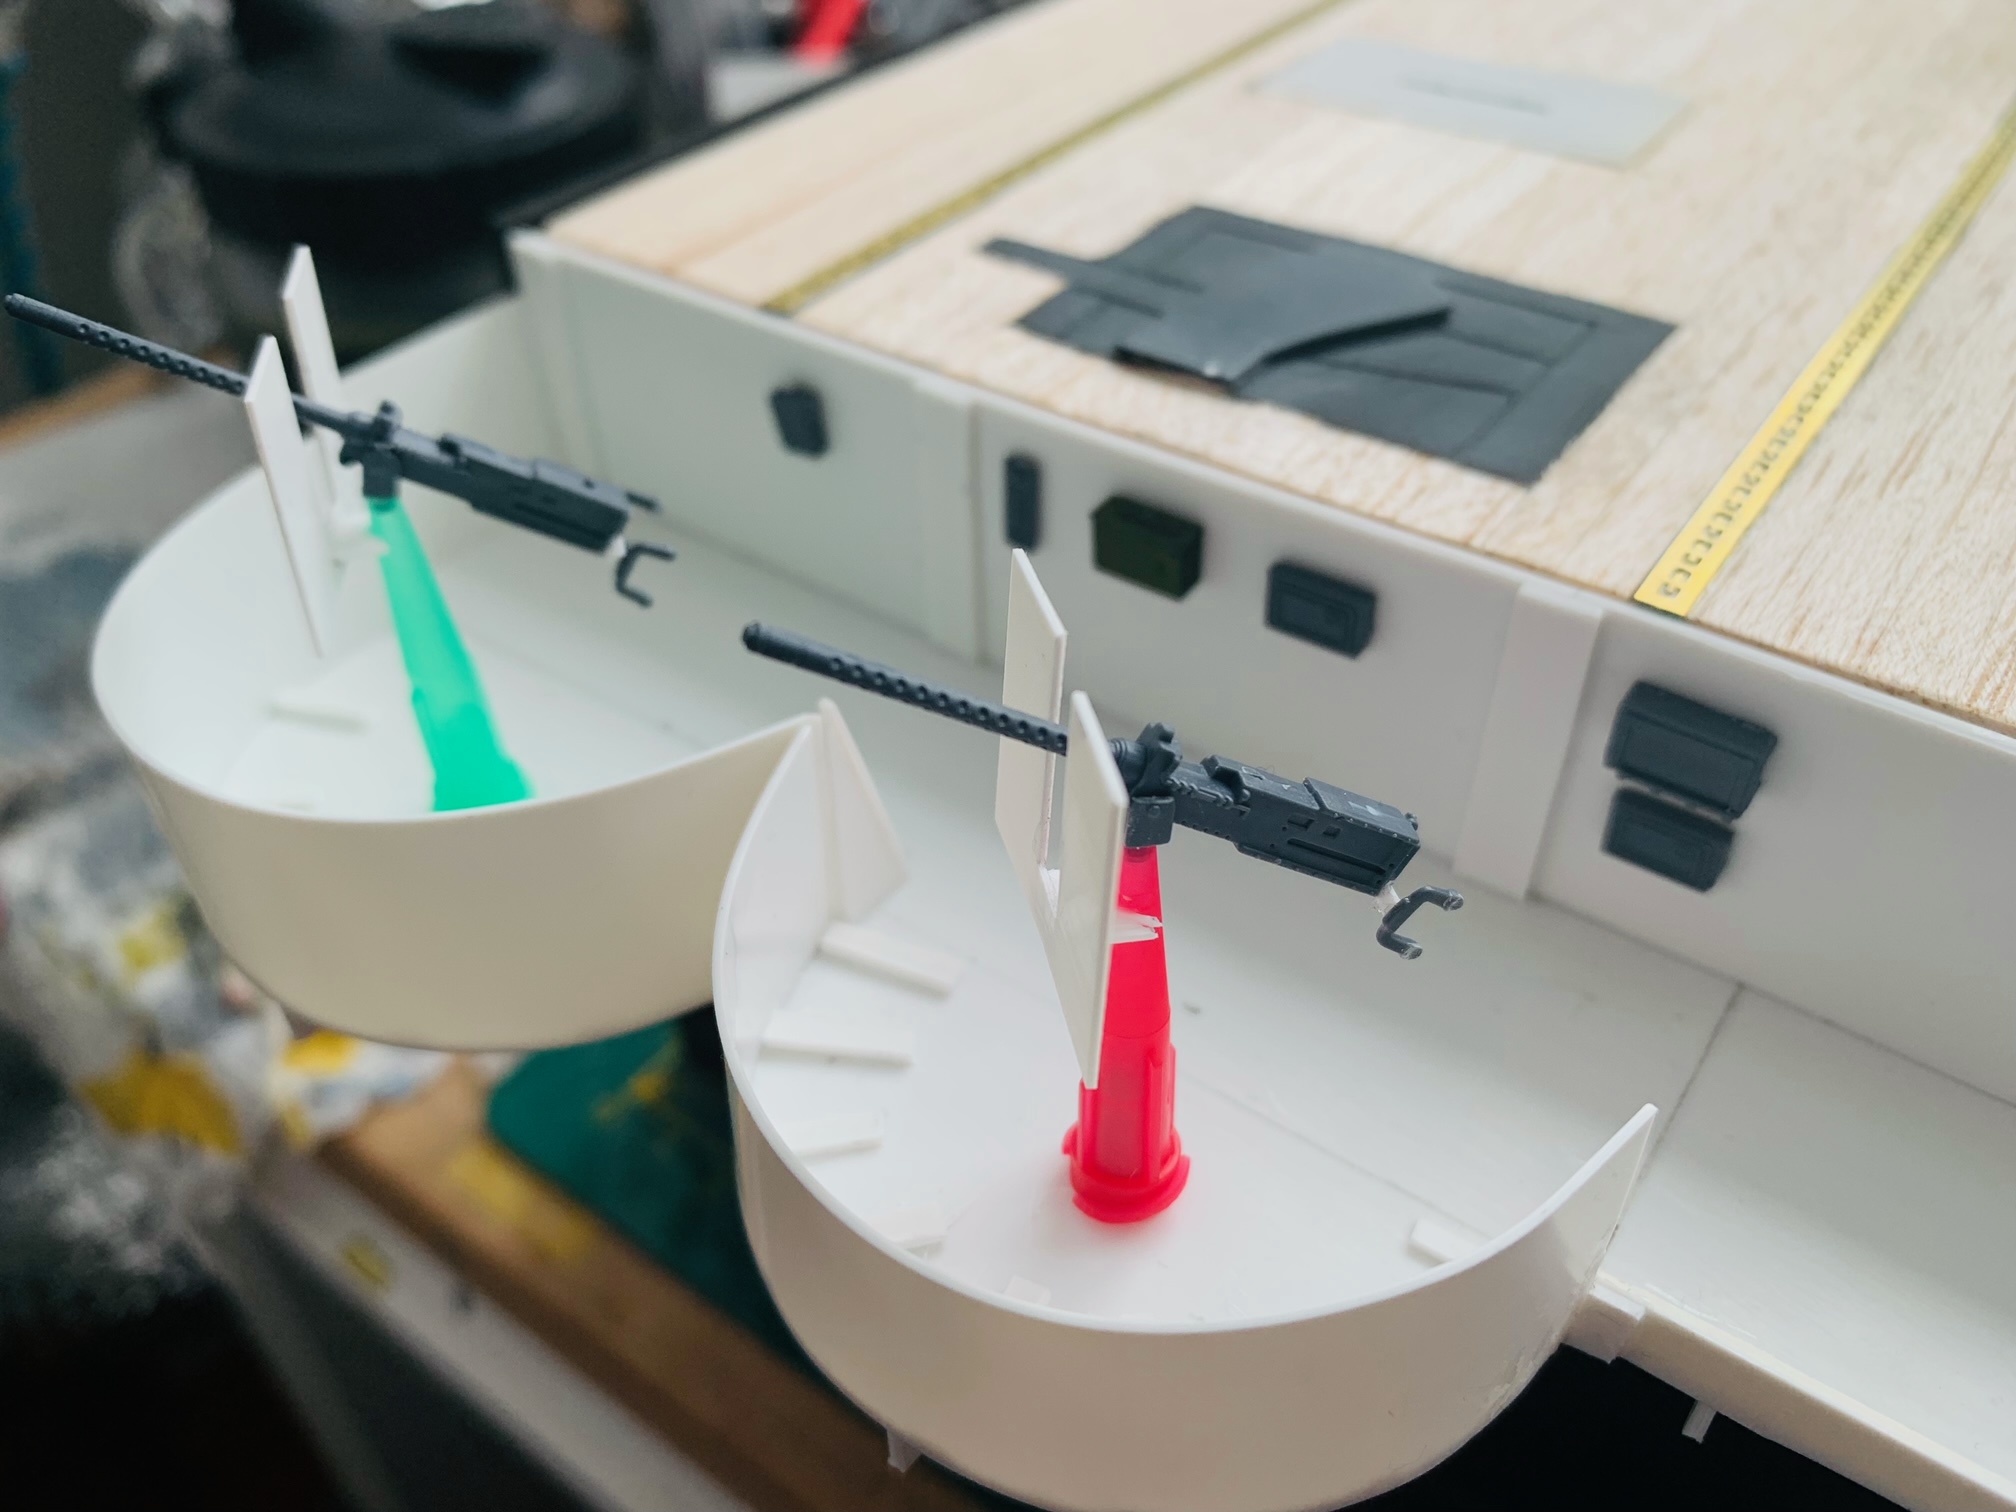
Project Update: USS Wasp Diorama Section – Starboard Catwalk & Rear Hangar
My initial idea was to give The Flight a solid base—something like a 60mm "sockel" (pedestal). But then I decided to push it further: I’d create a section of the USS Wasp, focusing on part of the aircraft carrier structure below the flight deck.
I chose to model the starboard side, specifically the catwalk over the rear hangar, just in front of the rear elevator. The catwalk is glued to the flight deck but remains completely removable from the hangar box, making the section modular.
The two 20mm Oerlikon guns in this section were almost scratch-built, along with the underlying catwalk structure. A lot of attention went into replicating these with accurate proportions and detailing.
I also plan to make the entire section sound-animated, which will bring an extra level of immersion once it’s finished.
A crew for the flight deck has been ordered from Super Hobby (Poland) to populate the scene with figures and bring the whole diorama to life.
But first—here are some pics of the progress so far!
.jpeg)
.jpeg)


.jpeg)
.jpeg)
.jpeg)

.jpeg)
.jpeg)
To replicate the wooden flight deck of the USS Wasp, I started by gluing 5x2mm balsa wood strips onto a 400x200mm base using CA glue. Referring to period photos of carrier decks, I counted 12 planks before each row of tie-downs, creating a realistic and historically accurate layout.
The tie-down rows themselves are 3mm wide, and to match the height of the balsa planks (almost 2mm), I glued in spacers beneath them. This ensured a level surface across the deck and preserved the slight visual separation between the planks and tie-downs.
Once all components were securely in place, I trimmed the balsa flush with the edges of the base, giving a clean, crisp outline ready for painting and further detailing.
.jpeg)
.jpeg)
.jpeg)


For the Flight Deck I ordered some parts
.jpeg)
.jpeg)
.jpeg)
The Wings are glued togehter and before they have been painted in Interior Green, also teh folding mechanism. The flaps are glued in Landing position. For the Diorama the Corsair will be displayed with Folded Wings.
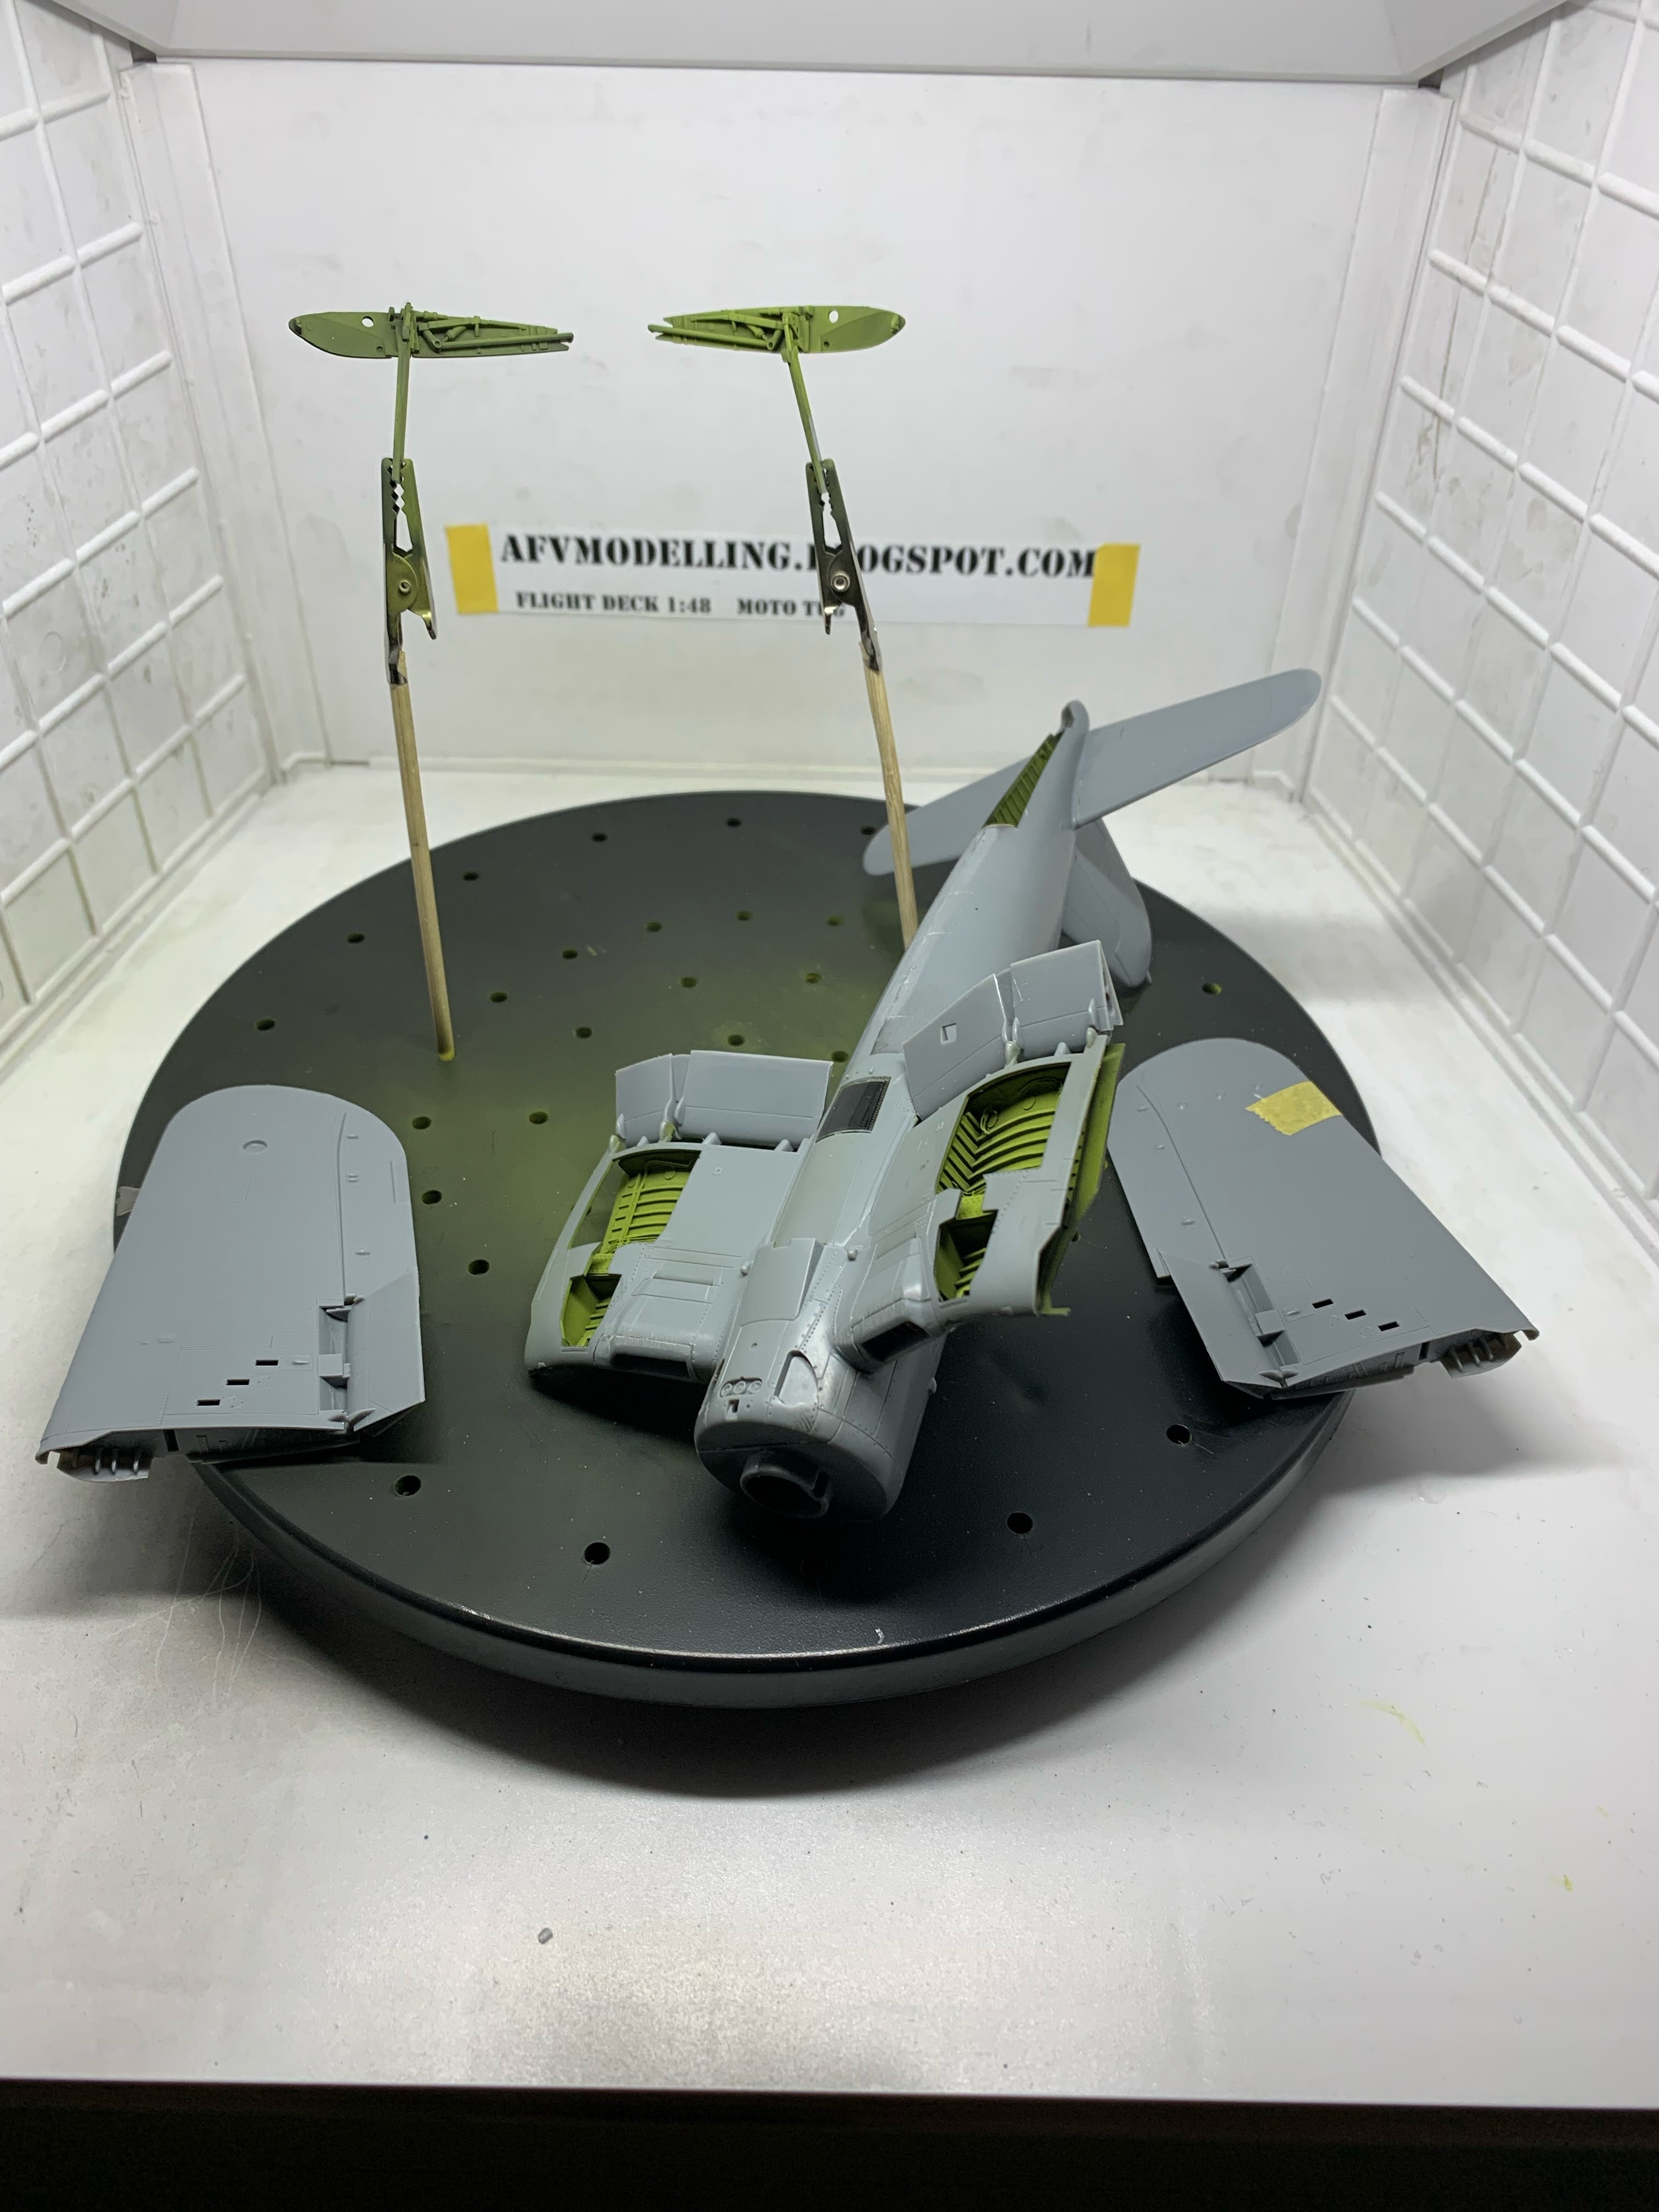

Airbrushed the Wheel bay area with Black and Interior Green, glued the parts togehter and married the Wing and the Fuselage. For the Bay wiring is used Photo eteched parts from Eduard.

.jpeg)
.jpeg)
.jpeg)
.jpeg)
.jpeg)
.jpeg)


